
When shutters begin to fade, crack, or lose their charm, your home's curb appeal can take a noticeable hit. However, you don’t have to replace them entirely. With the right materials and steps, you can restore their original beauty—or even enhance it. One of the most efficient and affordable ways to revive your home's exterior is to use vinyl shutter paint to breathe new life into worn-out shutters.
Why Do Shutters Fade Over Time?
Shutters are constantly exposed to sunlight, wind, rain, and pollutants. Over time, UV rays cause the colour to fade and the material to deteriorate, especially with vinyl or plastic shutters. Wood shutters, on the other hand, can suffer from cracking or warping due to moisture. This weathering can make your home look older and poorly maintained.
Fortunately, this problem is fixable with a little effort and the right products.
Choosing the Right Paint for the Job
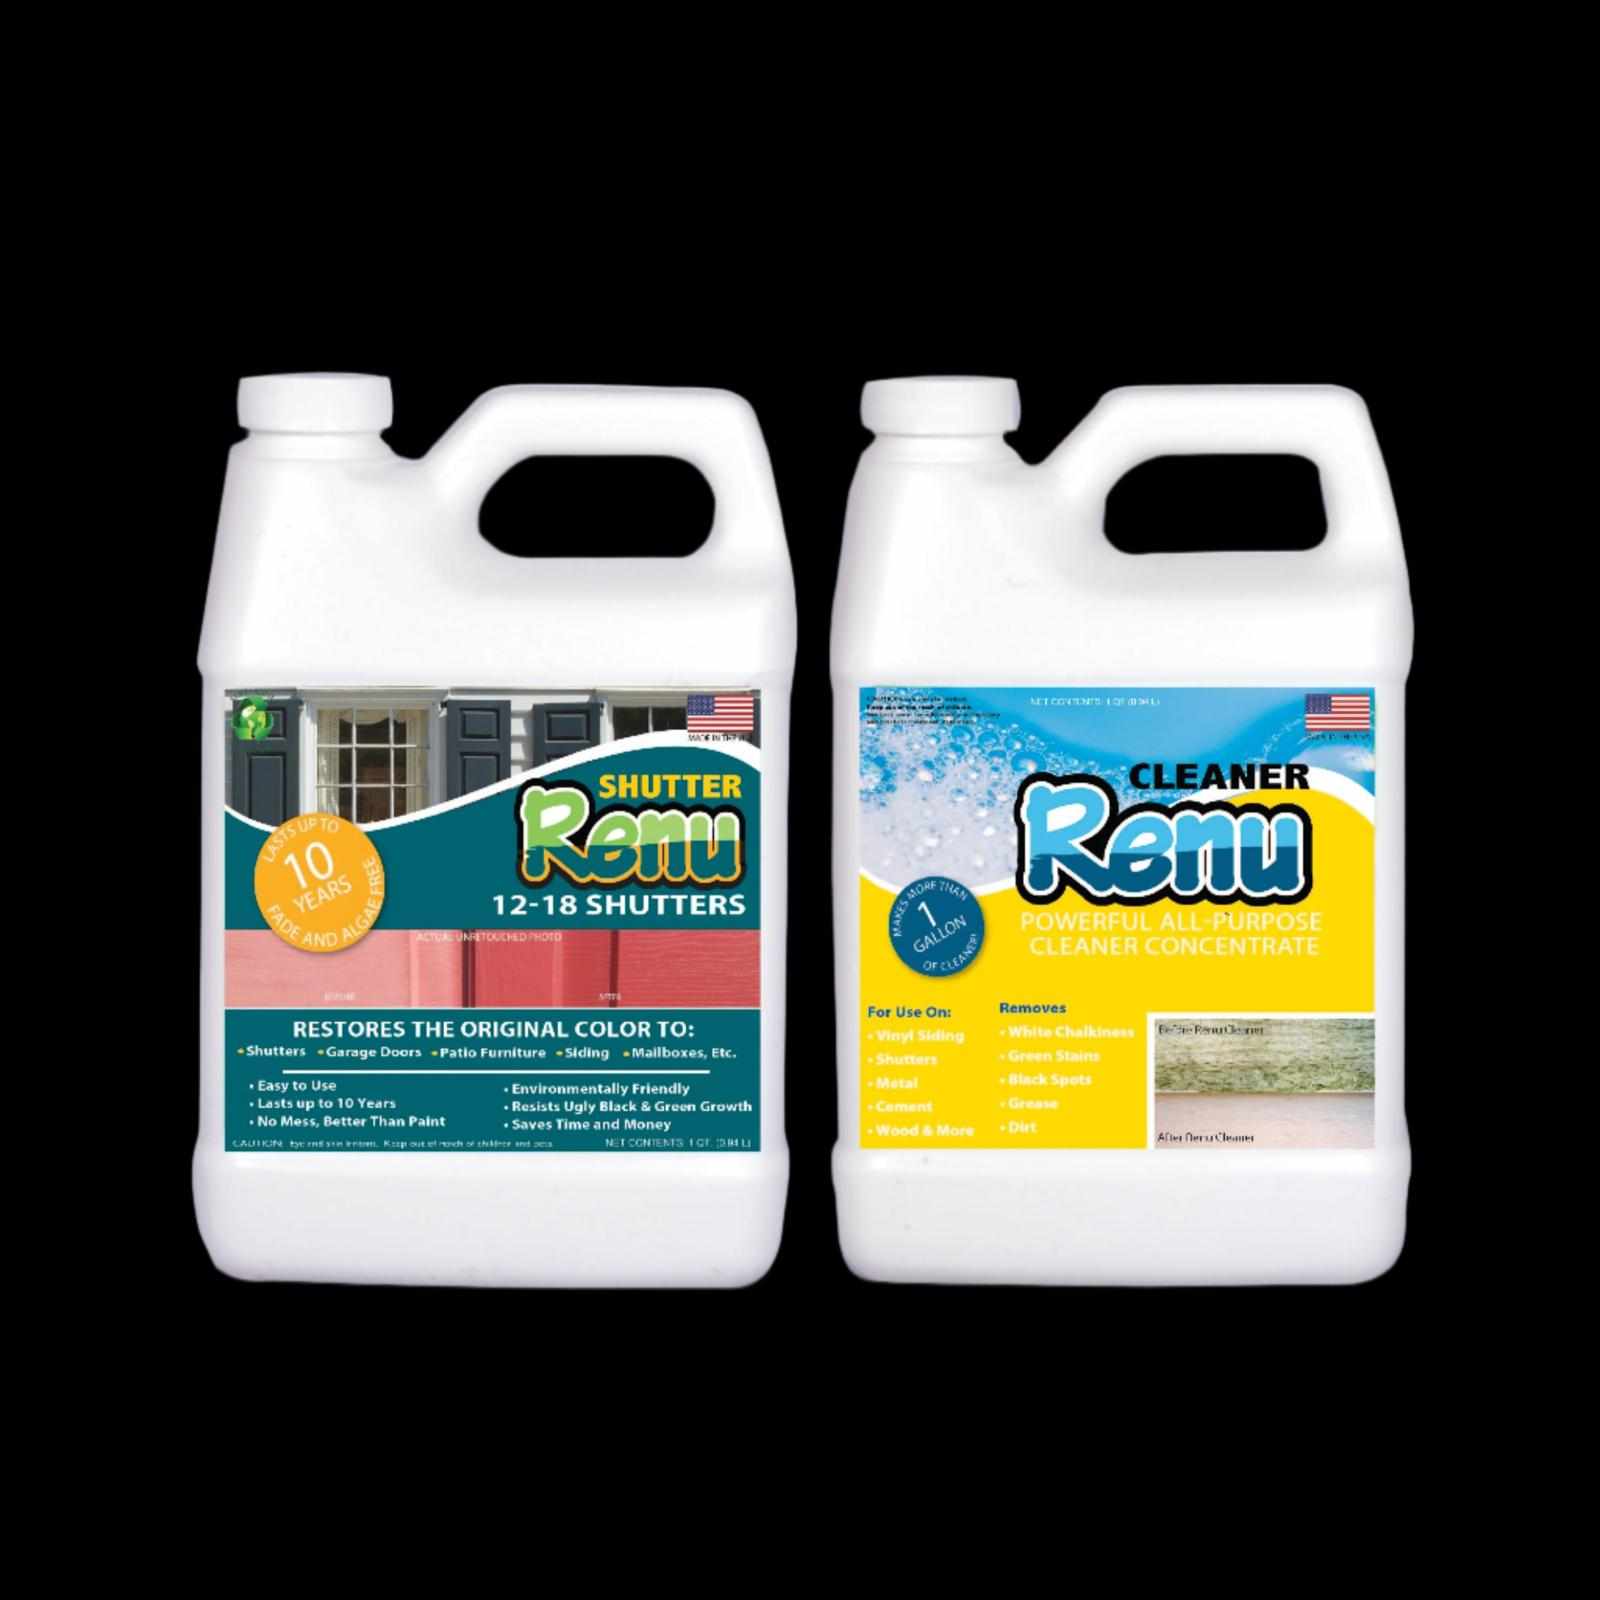
Not all paint is created equal—especially when it comes to exterior surfaces. Vinyl and plastic shutters require a paint formula that will adhere properly and resist fading over time. Specialized vinyl shutter paints are designed to bond with the surface and flex with temperature changes, preventing cracking or peeling.
For wooden shutters, a durable, water-resistant paint is essential. You’ll also need to sand the wood lightly before painting to ensure even application and long-term adhesion.
Steps to Properly Repaint Faded Shutters
To achieve a professional-looking result, follow these steps:
1. Remove the Shutters (If Possible)
Taking the shutters down makes it easier to clean and paint them evenly. Place them on a flat surface and inspect them for damage before beginning.
2. Clean Thoroughly
Dirt, mold, and chalky residue from sun damage must be removed before painting. A soft brush, mild soap, and water can do the trick. For extra dirty shutters, consider a cleaner made specifically for outdoor vinyl or wood surfaces.
3. Sand Lightly (If Needed)
Vinyl may only need a light scuff with fine-grit sandpaper, while wooden shutters often require a bit more prep. This step helps the paint grip the surface better.
4. Apply Primer (If Recommended)
Some shutter materials benefit from a bonding primer. Check the paint manufacturer’s instructions to see if it’s necessary for your shutters.
5. Paint with Precision
Apply thin, even coats using a paint sprayer or brush. Allow each coat to dry fully before applying the next. Most shutter restoration jobs require two coats for full coverage.
Revitalize, Don’t Replace
Many homeowners mistakenly believe they need to buy new shutters once fading or wear appears. In reality, the right paint product can restore shutters to like-new condition at a fraction of the cost. A quick restoration job not only saves money but also reduces waste—making it a sustainable choice as well.
Tips to Maintain Your Shutters After Painting
Wash your shutters seasonally to prevent dirt buildup and mildew.
Reapply a UV-protective clear coat every few years to extend the life of the paint.
Inspect shutters annually for signs of wear and touch up as needed to avoid major repainting.
Final Thoughts
Repainting your shutters is a smart, budget-friendly way to give your home a refreshed, polished appearance. Whether you choose to enhance the existing colour or try a bold new shade, the transformation can be remarkable. Just remember to use the right type of paint and prep properly for lasting results.


Write a comment ...